Inspired by a tweet from Dasarte, I wanted to share the simple process I use to record, edit, and publish videos.

I posted my first financial education video in 2019, recorded a 2-year-long weekly series, and more recently, started recording & editing golf videos.
Unlike many advisors, I had a strong interest in starting in front of the camera. I knew how powerful it could be as part of a marketing plan and used it from day one.
Surprisingly enough, the process has changed very little.
So if you're looking to get started, or refine your own creations, here's a breakdown of my video process (with recommendations):
1) Video // Use your phone
There's no reason to get fancy when you're getting started.
If you have a phone with a camera, you're good to go.
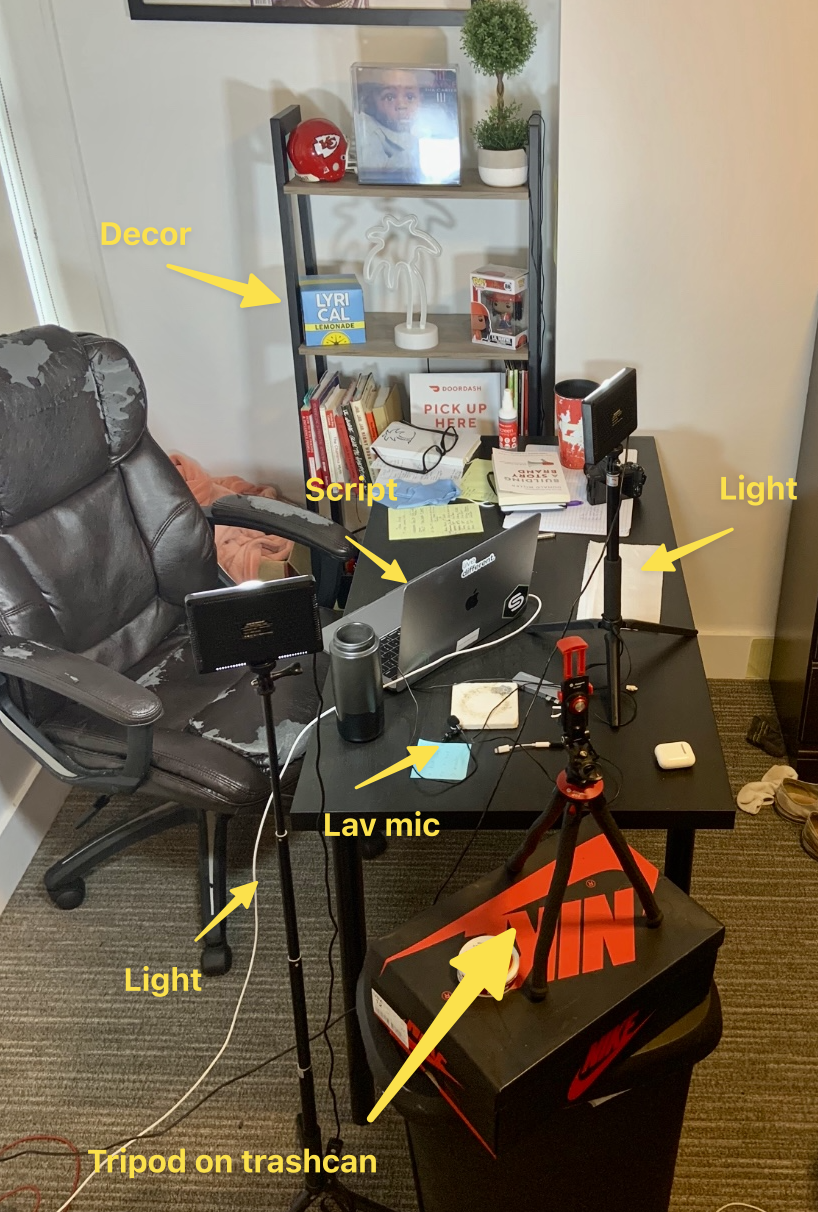
I bought a basic tripod so I could sit it behind my desk and have the same background as my Zoom setup.

Only upgrade to a camera after you know you're going to stick with it. Plenty of YouTubers have millions of subscribers and still use their phone. The content itself is way more important than slightly higher video quality. I now use the Canon m50 for video after already purchasing it for photography purposes.
2) Audio // Lav mic
In my opinion, audio quality is more important than video quality.
Spend $15 on a lavalier mic and use it for every video.
You may need an adapter to use with iPhones, but there's no easier way to upgrade your videos than having good audio.
If you don't like the look of a mic pinned to your collar or shirt, you can spend a little bit more and use something like a Yeti Blue or Shure.
3) Lighting // Natural or purchased
If you have good lighting & good audio, you could record videos with your phone forever and nobody would ever know. You don't need to go out & buy studio lights, but be mindful of lighting and its impact on appearance.
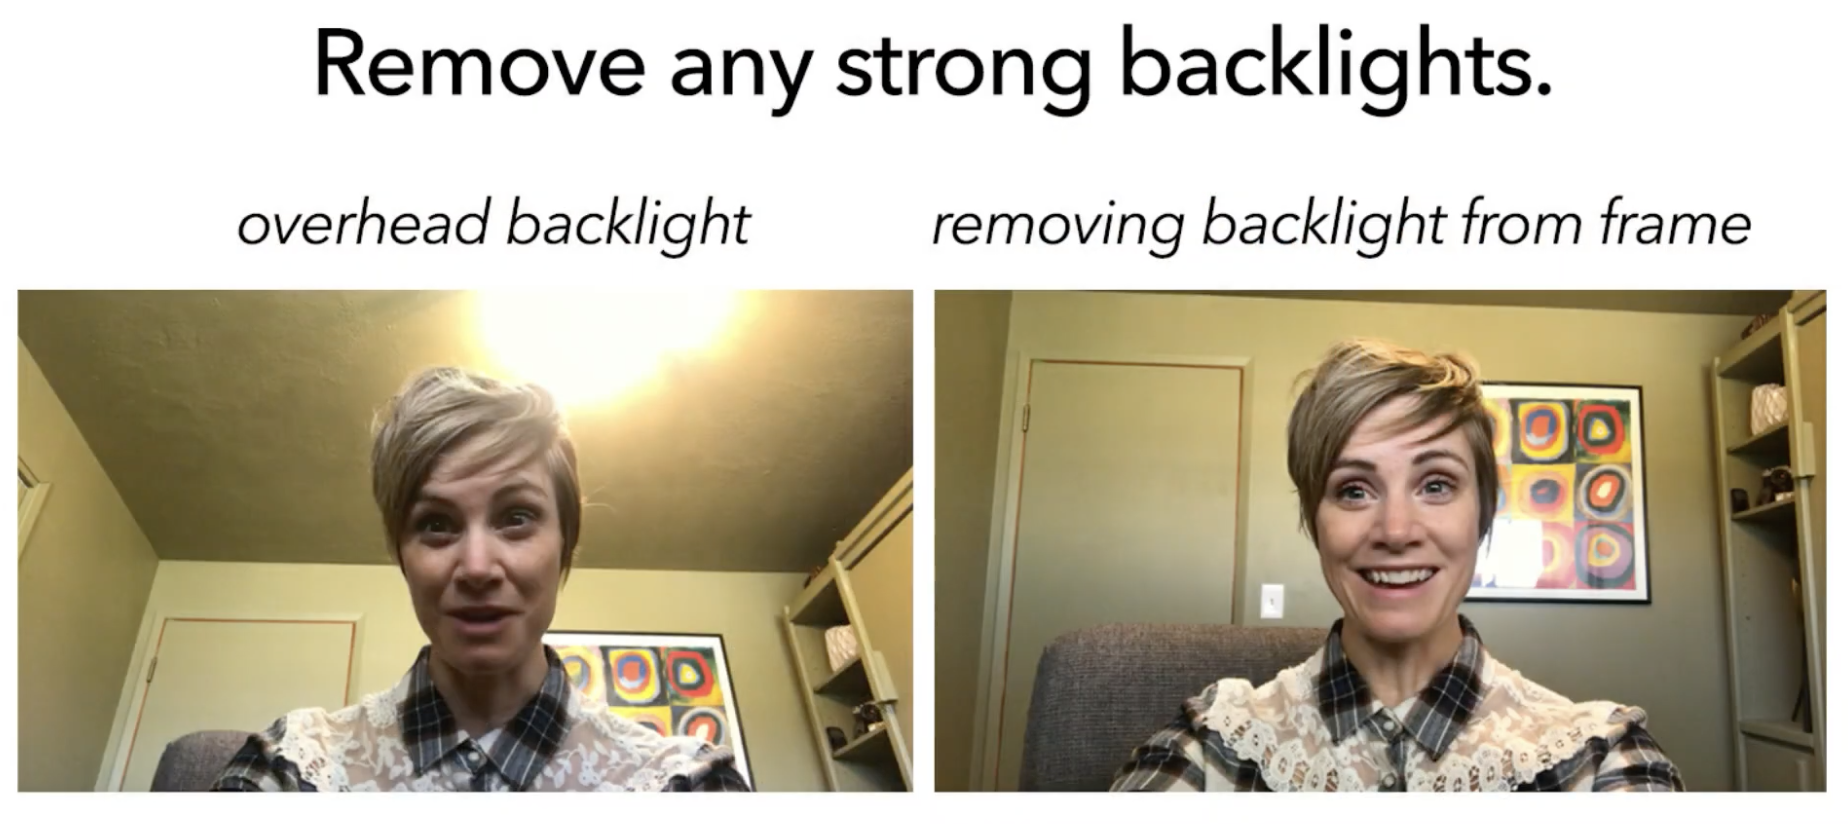
For example, look at the difference between these two frames:

By simply repositioning the camera angle and removing the backlight, the video quality drastically improves.
If you have a window in your office, try to face it when recording because it'll produce the best possible light. If you have a bedroom-turned-office set up without natural lighting, there are a lot of affordable options on Amazon. I still use these to this day.
4) Script or Outline // previous blog posts, bullet points
Once you've got the minimal viable equipment, put it to work.
If you have any blog posts, twitter threads, or newsletters that could be valuable in video form, start there. For example, here's a post that started as an article and then I used the article as a script for the video:
If you don't have anything pre-written to pull from, think through some common questions from discovery calls or client meetings. Or look at r/personalfinance or r/financialplanning, see what people are posting about, and record a video answering the questions in your own way.
Some of the best performing videos on YouTube are "How To" and "Why" videos. Think how that could apply to personal finance and what you're trying to educate around.
5) Export // AirDrop, microSD card
Once the content is recorded, get it onto your computer for further editing. The reason I like using my iPhone for recording is I can easily AirDrop the video to my Mac and instantly start working on it.
- If you use an Android, I think(?) the best option would be uploading the footage to Google Drive and then accessing it on your computer
- If you use a camera, you'd pull out the microSD card, would likely need a USB adapter, and plug it into your computer
6) Editing // iMovie or VEED
Once you have the footage on your computer, you can upload it to your editor of choice. If you have a Mac, iMovie is perfect. If you don't, I recommend VEED.
Edit tip #1 - Use jump cuts (remove pauses)
Edit tip #2 - Capture attention immediately
- Don't do a long animated intro. Make an interesting statement, pose a question, use a graphic - do anything to make the first 10 seconds memorable.
7) Upload // YouTube
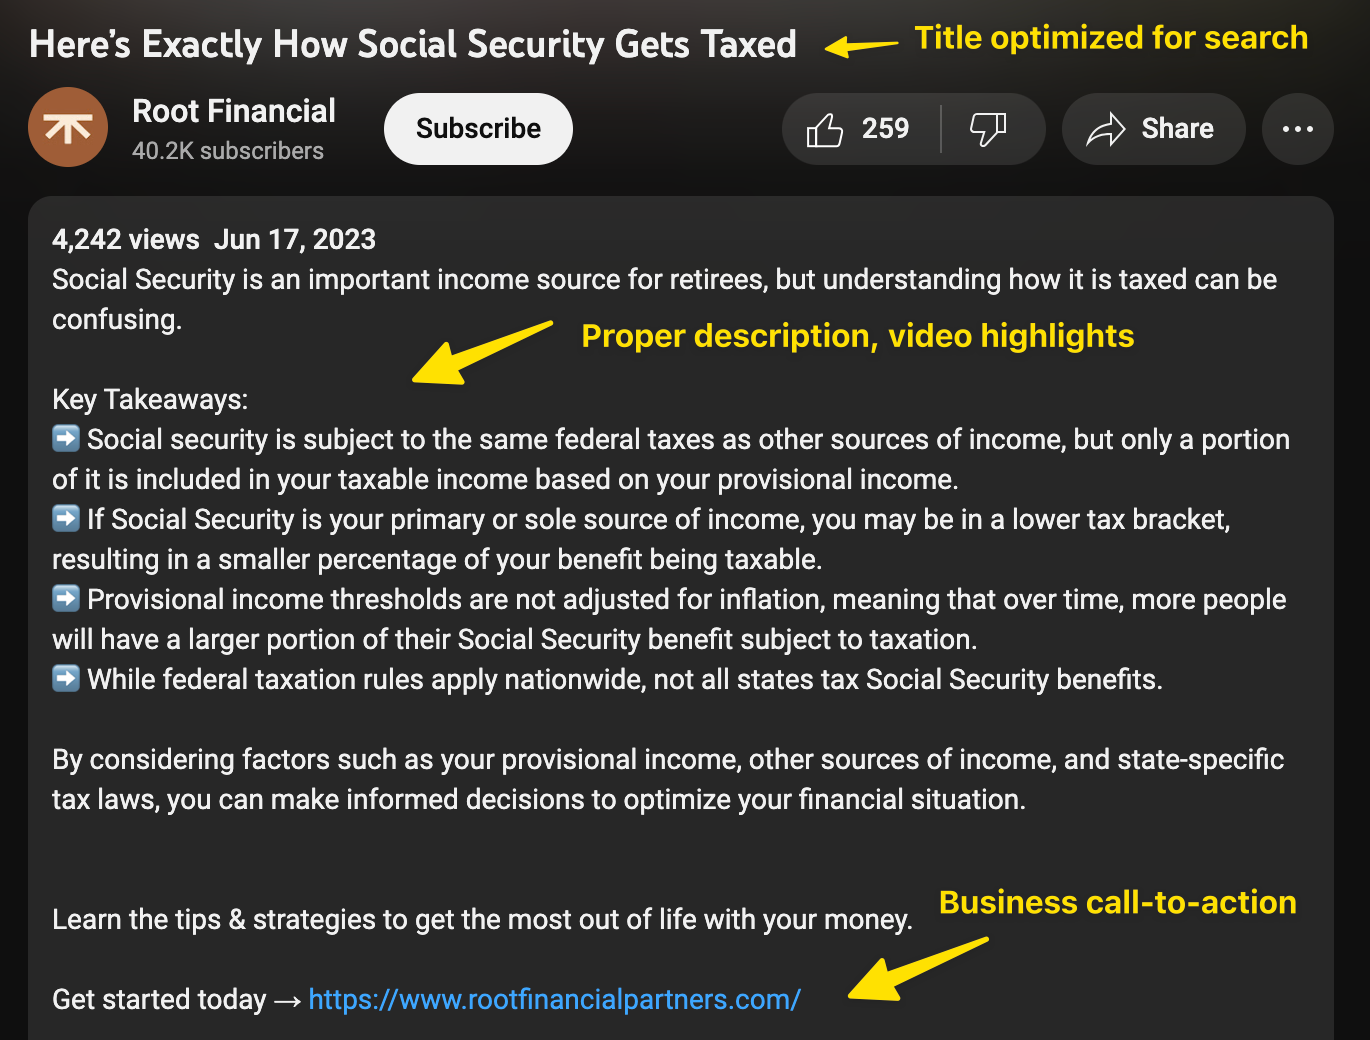
After finishing the edits, save the video to your computer and go to your YouTube studio. This is where you upload the .MP4 file, upload your video thumbnail, write the title & caption, and click 'publish'.
A perfect example of how to post on YouTube is Root Financial - below is a quick breakdown of their video structure:

8) Chop & Distribute - VEED
Once you've posted to YouTube, you need to drive people to watch the video.
While the search algorithm should give you viewers after some time, you should be intentionally distributing your video anywhere and everywhere to get viewers.
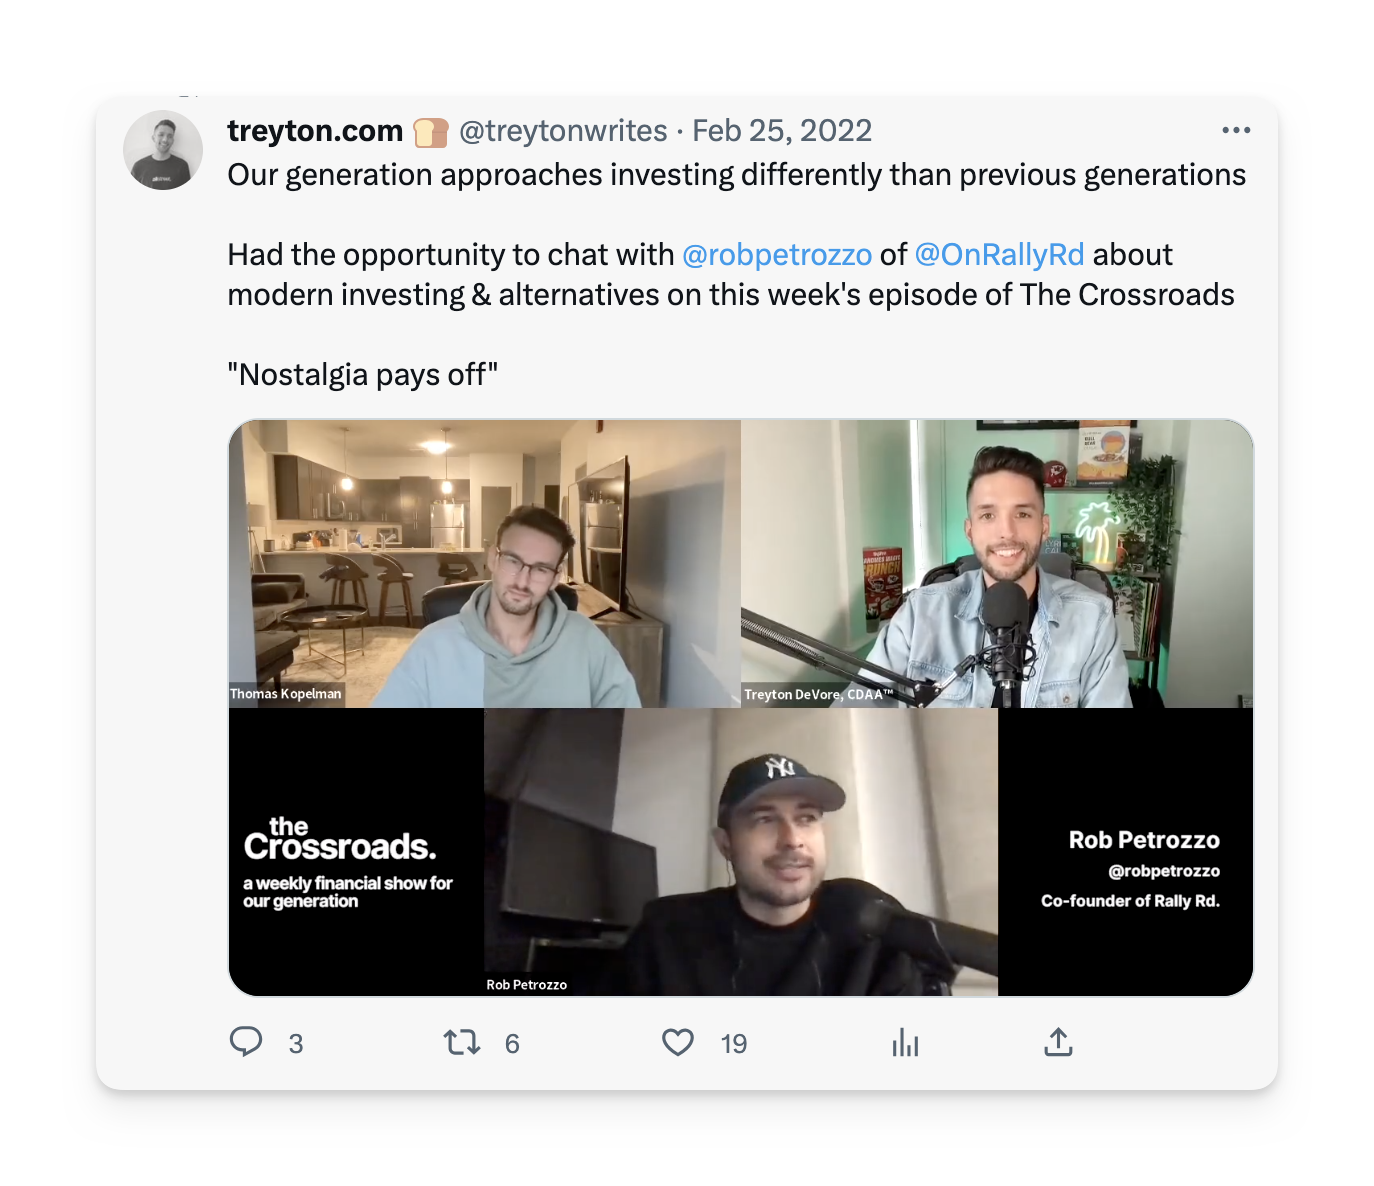
The best way I've seen this done is through posting short, captioned clips on social media - like this:

This one clip got 5,554 impressions. I followed it up with a link to the YouTube video and it got 7 clicks.
Nothing crazy, but it adds up over time.
Now, here's a 15-minute behind the scenes of what the above process looks like:
.png)

